Step-by-Step EPDM Installation Guide for an Efficient Roof
Date: June 8, 2024
EPDM, or ethylene propylene diene monomer, is a type of fake rubber often used for flat roofs. People like it because it lasts a long time, is cheap, and tough. You can put it on many different buildings, and if you install it right and look after it, it can last up to 50 years. Here’s how to put an EPDM roof in, step by step, with everything you need and how to stay safe during the EPDM installation process.
Essential Tools and Materials for EPDM Installation
To install your EPDM roof, you will need the following:
Tools:
Utility Knife: For cutting the EPDM membrane and trimming any extra material.
Roller: A hand roller or weighted roller is crucial for pressing down seams and adhesive to ensure they bond properly.
Seam Roller: Specifically designed to press down seams for a tight seal.
Measuring Tape: For accurate measurements of the roof and EPDM material.
Chalk Line: To mark straight lines for laying the membrane and aligning seams.
Adhesive Applicator: This can be a paint roller or sprayer, depending on the adhesive type, to ensure even application.
Caulking Gun: For applying sealant around edges, penetrations, and seams.
Materials:
EPDM Membrane: The rubber roofing material, available in various sizes and thicknesses.
Bonding Adhesive: Special adhesive to attach the EPDM membrane to the roof. Ensure it’s compatible with EPDM.
Seam Primer: Used to seal overlaps between EPDM sheets for a watertight seal.
Seam Tape: For sealing the seams between EPDM sheets.
Cover Tape: For covering and sealing exposed seams and areas needing waterproofing.
Lap Sealant: Applied to the edges of seam tape and around penetrations for extra water protection.
Flashing: EPDM or compatible material used around roof penetrations, like vents and pipes, to prevent leaks.
Penetration Covers: Prefabricated pieces designed to waterproof around protrusions like vents and pipes.
Insulation Board (if needed): Depending on your roofing system, you might need thermal insulation beneath the EPDM membrane.
Additional Supplies:
Cleaning Solvent: For cleaning the roof surface to ensure proper adhesion of the EPDM.
Protective Gloves: To protect your hands during installation, especially when handling adhesives and solvents.
Safety Equipment: Depending on the roof’s height and slope, you may need safety harnesses, ropes, and anchors to prevent falls.
Health & Safety for EPDM Installation
When installing an EPDM roof, it's crucial to keep everyone safe. Here are some detailed safety tips to follow:
Clear all debris and tripping hazards: Leftover debris can mess up your EPDM roof and cause tripping accidents. Make sure to sweep the roof clean of all dirt, dust, and debris before you start working. This helps ensure a smooth installation and prevents any potential injuries.
Watch the weather: The weather, especially in the UK, can be very unpredictable. It’s safer to work on dry, mild days since snow, rain, and ice can make the roof extremely slippery and hazardous. On warm, sunny days, the roof can get very hot, so it’s important to protect yourself from the sun and stay hydrated. Avoid working on days with extreme weather conditions to prevent accidents.
Stay aware of the roof's edge: A key rule when working on a roof is to never turn your back on the edge. Always be aware of your surroundings to avoid accidental falls. Use safety tape to mark safe walkways and construct barriers to block off roof hatches or any large exposed openings. This helps create a safer working environment by clearly defining hazardous areas.
Wear the right gear: Proper attire is essential for roof work. Wear sturdy shoes with good grip to prevent slipping. Use gloves to protect your hands, goggles to shield your eyes from debris, and a hard hat to guard against any head injuries. Dressing appropriately helps minimize the risk of accidents and injuries while working on the roof.
Step-by-Step EPDM Installation Guide for an Efficient Roof
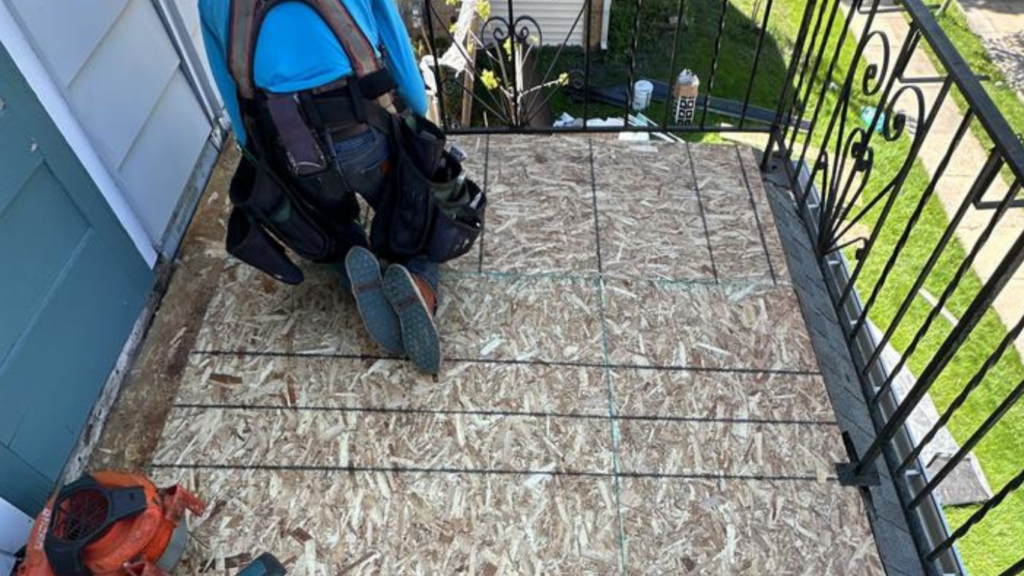
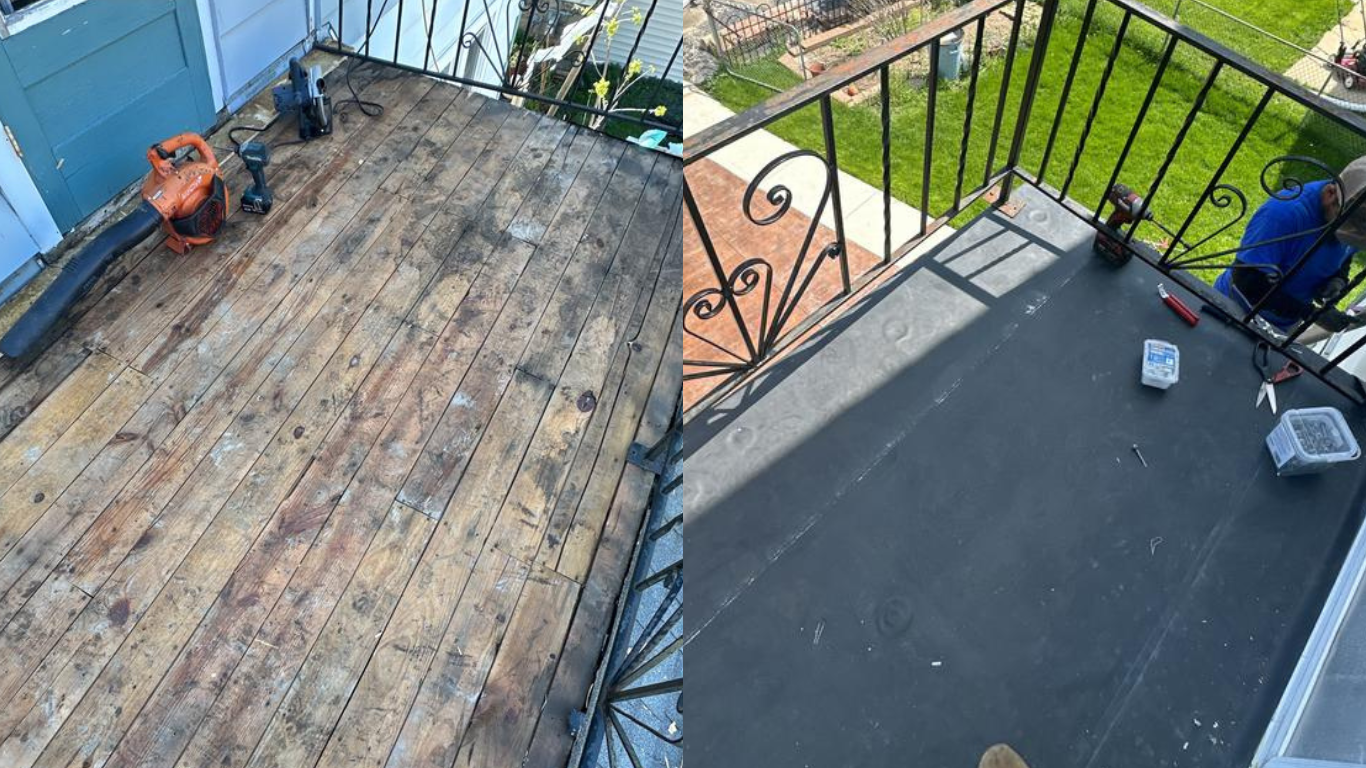
Surface Cleaning & Preparation To get the best results for your EPDM roof installation, you need to prepare the roof properly. Sweep the roof with a soft brush to remove all dirt, grease, dust, and debris. Remove any old coverings like asphalt layers. This step is crucial because any leftover waste can affect the quality and ease of your EPDM application. Make sure the roof is completely dry because the EPDM won't stick to wet surfaces. Any trapped moisture can vaporize and hinder the EPDM's performance. Inspect the roof for cracks or gaps and fill any gaps larger than a quarter of an inch with wood strips. To prepare for wall trim flashing, use an angle grinder or mortar chisel to chase out the brick mortar joint.
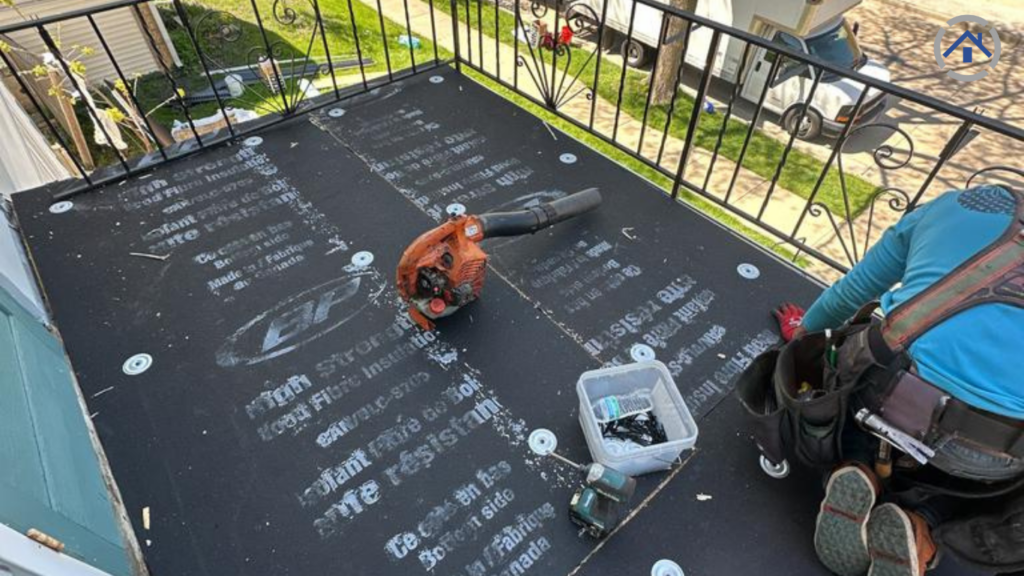
Positioning and Resting Unfold and lay the EPDM rubber over the roof, making sure it covers the roof completely with extra overhang for the walls and roof edge. Install the drip batten and drip back trim along the roof edge for effective rainwater drainage. Let the membrane rest for 30 minutes to allow it to expand naturally. This helps ensure a smooth installation with no wrinkles.
Apply Water-Based Adhesive After 30 minutes, fold the EPDM membrane back to expose half of the roof deck. Apply water-based deck adhesive with a 9” roller, spreading the glue evenly with no lumps. Leave a 150mm space around the deck perimeter for contact adhesive later. Roll the EPDM back into position while the adhesive is still wet to secure it. Use a broom to sweep across the EPDM to remove any trapped air and create a smooth bond.
Apply Contact Adhesive Fold back the un-adhered EPDM on the 150mm perimeter section. Apply a thin coat of contact adhesive to this space and any vertical upstands, covering both the deck and the back of the EPDM membrane. Once the adhesive is touch-dry, trim the excess EPDM membrane from the walls and upstands.
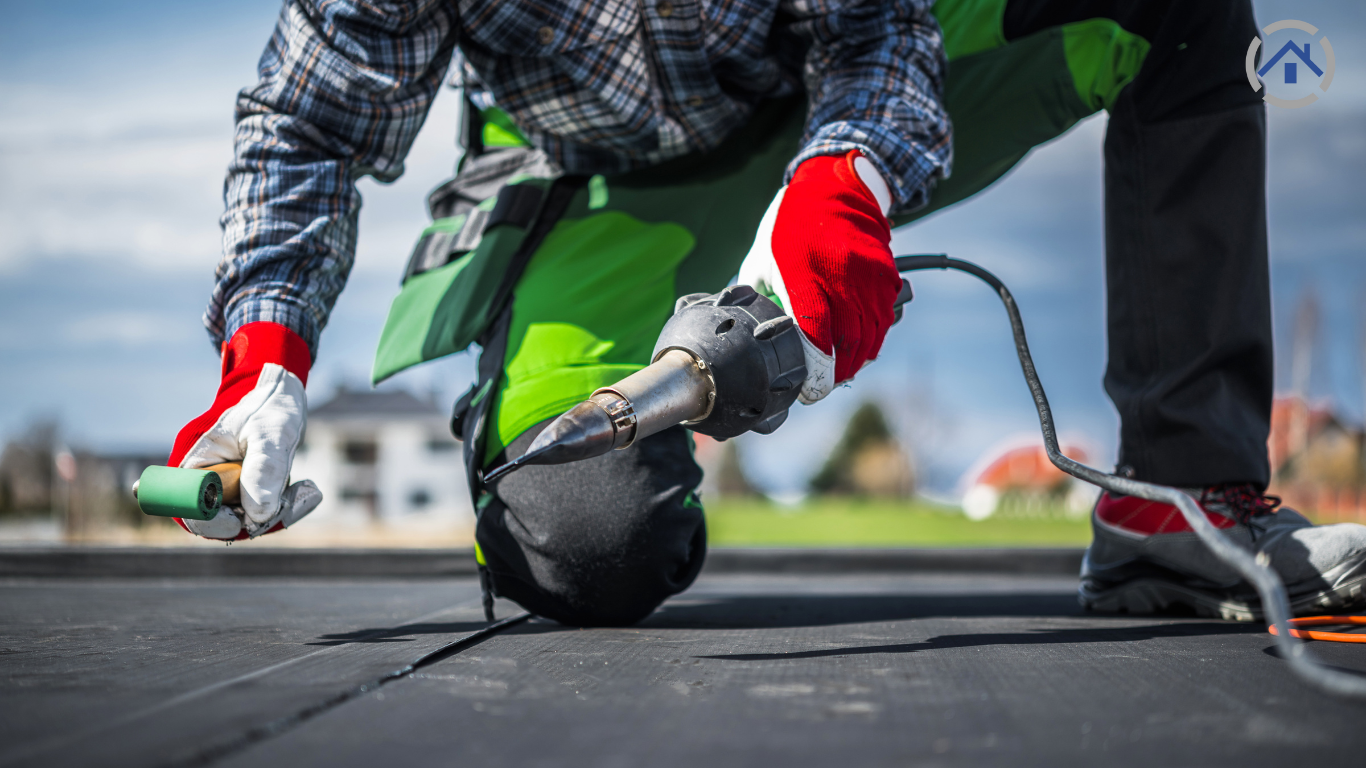
EPDM Tape Use EPDM tape to waterproof external roof corners. Cut the tape to size, allowing extra height and width. Apply EPDM rubber primer slightly beyond the tape area and let it dry. Press the tape down and stretch to secure it. Use a penny roller to ensure the tape is fully bonded.
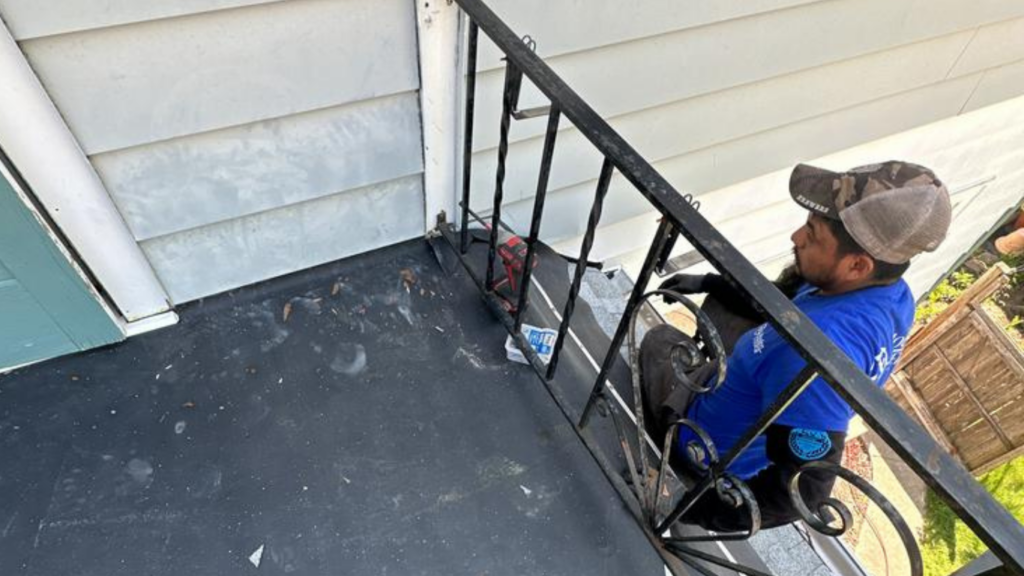
Installing Wall Trim Drill the wall trim and wall with a masonry drill, then fit a RawlPlug and fastener. Apply mastic to the wall trim and wall chase out.
Finishing the Edges Fold the EPDM membrane by pinching to form a 'pigs ear' and fold it onto the side of the roof. Install the trim corner, secure the plastic trim kerb edge, and cut to length. Use snap clips to secure. Install the drip/gutter front trim and trim any excess EPDM membrane.
Inspections: Check your roof regularly for early damage like cracks, splits, or loose sections, especially after bad weather.
Cleaning: Keep your roof clear of debris. Gently sweep or rinse off dirt, then use a roof cleaner and soft brush for a thorough clean. Avoid high-pressure water as it can damage the membrane.
Repairs: Fix any splits, cracks, or holes as soon as you find them to prevent larger, more expensive problems later.
Consider Professional Help for Your EPDM Installation
If you are unsure about any part of the installation or if you simply want to ensure the highest quality result, consider seeking professional help. Roofing professionals have the experience, tools, and expertise to install your EPDM roof efficiently and safely. They can also provide valuable advice on maintenance and repairs to maximize the lifespan of your roof.
Whether you decide to do it yourself or hire a professional, taking the time to ensure a proper EPDM installation will pay off with a roof that provides excellent protection and durability for many years to come.