Severe weather gutter installation instructions require careful planning and a few specialized tools. It is essential to ensure that the gutter installation instructions are closely followed in order to protect your home from potential damage. This article will provide a guide on how to correctly install gutters for severe weather and what materials are necessary for proper installation.
Table of Contents
What are gutters and how do they work?
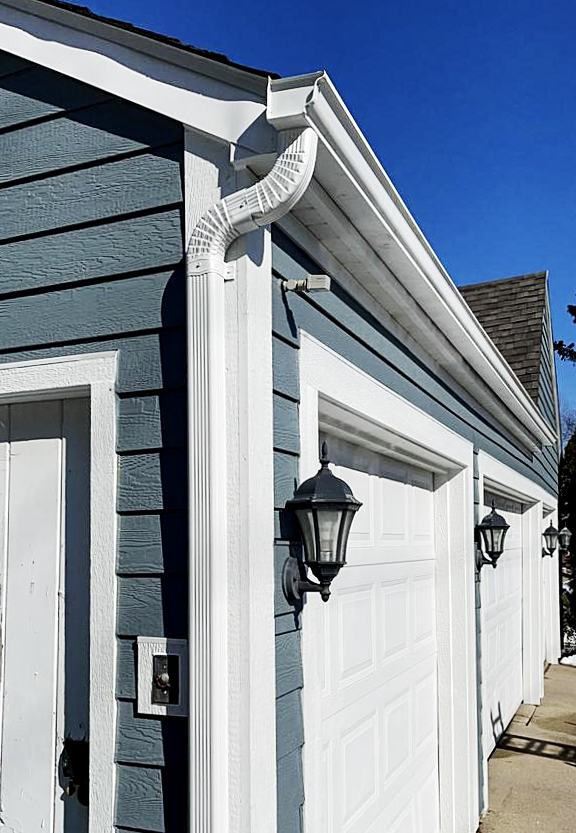
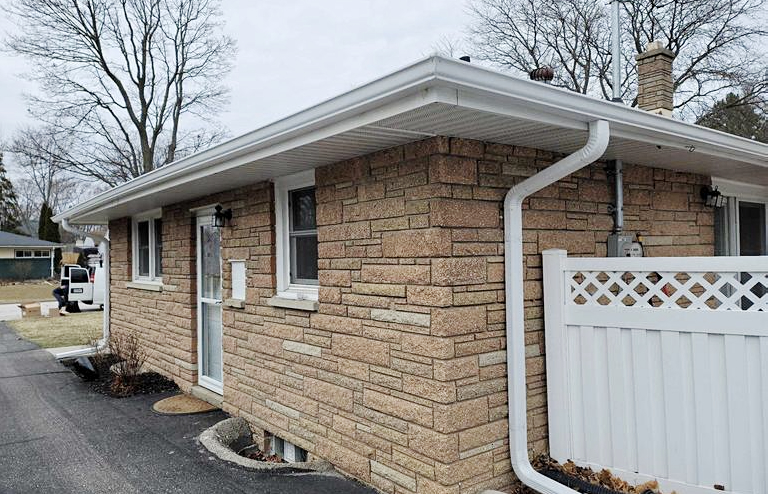
Gutters are a type of drainage system that is typically installed along the eaves of a roof to help control and direct the flow of water away from the foundation of your home. They work by collecting rainwater and snow melt from your roof and channeling it through downspouts into a drainage system or directly away from your home. This helps protect your home’s foundation, walls, windows, and doors from water damage.
Severe Weather Gutter Installation Instructions
Step 1: Remove old gutters
Rain, hail, and snow can cause severe damage to your property if you don't take the necessary precautions. One of the most important things you can do is to remove the old gutter from your property before the onset of severe weather conditions. This will help ensure that your home is protected against any water damage due to heavy rains and snow.
When removing old gutters, carefully disconnect the downspout from the gutter and remove any remaining screws or nails holding it in place.
Use a ladder to reach the top of the gutter and unscrew any brackets that are holding it in place on the fascia board.
Carefully Loosen the downspout wall strap and lower the gutter away from your house, taking care not to damage any of your siding or trim in the process.
Use a screwdriver or hammer to disconnect the brackets from other mounting hardware.
If the previous gutters were aluminum you can leave the old gutter apron.
If the Old gutters were steel you would need to install a new gutter apron or carefully trim the old steel backer.
Clear out any debris within the gutter such as leaves & dirt and remove existing downspouts or elbows if they are present.
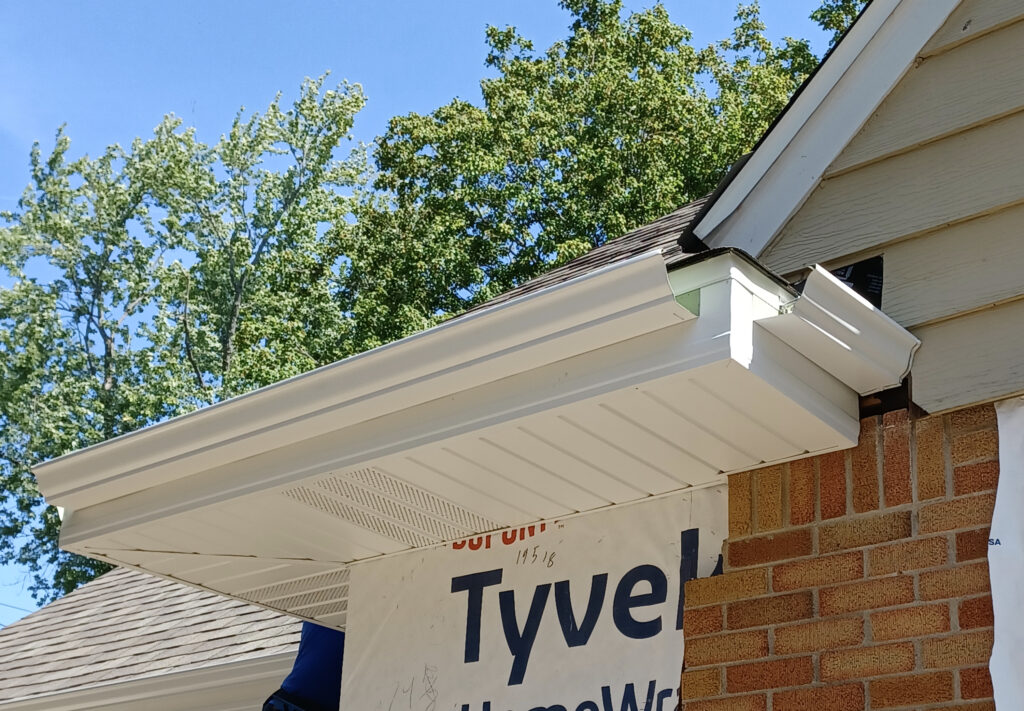
Step 2: Fascia Measurement
Fascia is the siding panel located between your gutter and the exterior wall of your house, providing a finished look to your home. It’s important to measure your fascia accurately so that your gutters fit properly and stay secure in place. To do this, measure the fascia runs and cut gutters to length on the ground. Make sure to add an extra half inch to extend past the gable ends.
Step 3: Mark the Gutter Layout and Slope
It is important to ensure that the gutters are installed properly, with the correct layout and slope, in order to ensure that they can effectively channel water away from the building and its foundation.
Start with marking the gutter layout. Measure distances between your gutters, downspouts, and corners. Make sure to mark where your gutters will be installed.
Next, measure the pitch or slope. The slope is essential for the proper drainage of water from the roof into the gutters. Determine how steep it should be based on your requirements and local building codes. The slope of your gutter should be at least a 1/4-inch vertical drop for every 10 feet of gutter.
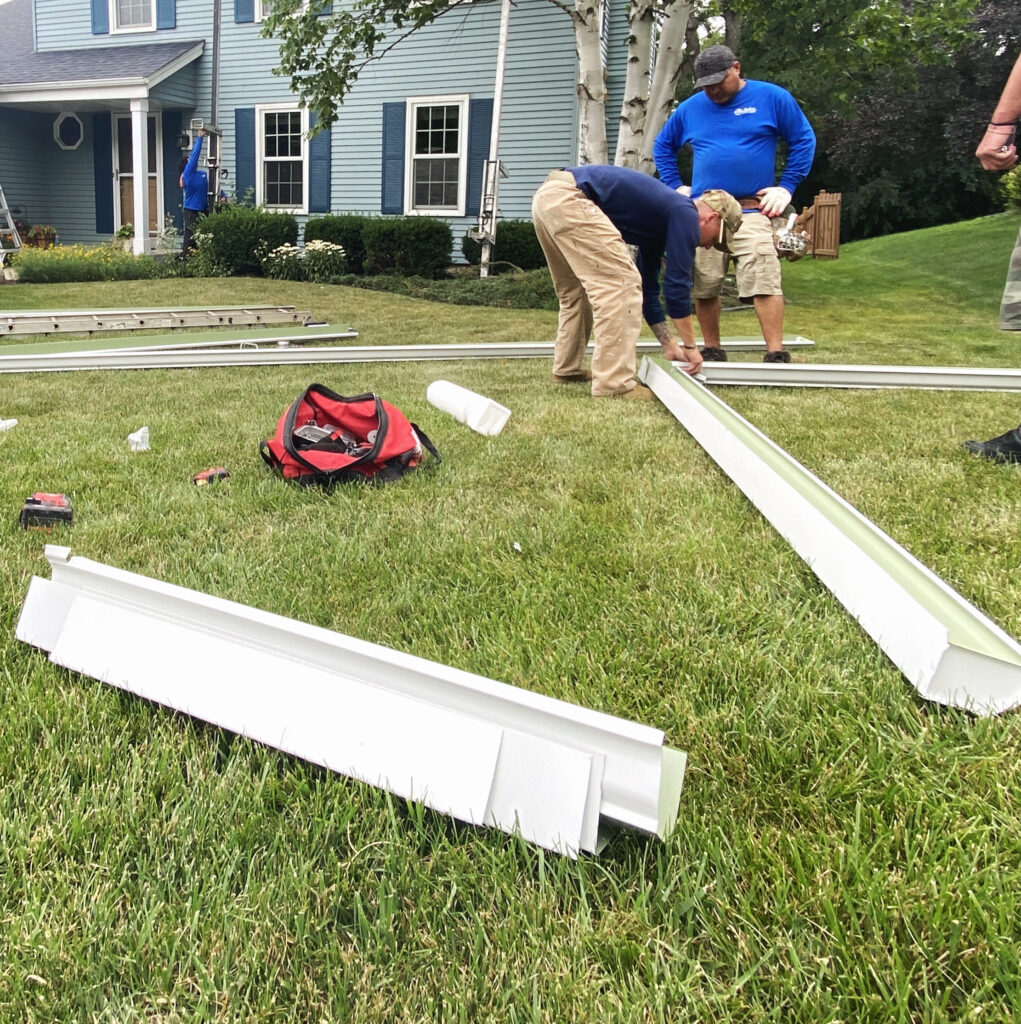
Step 4: Saw the Gutter to Length
Cutting the gutter is a challenging and important step in any gutter installation. It’s essential to get the measurements right and make sure that your saw cuts are straight and even.
Measure the length of the gutter needed.
Cut small notches at both ends of your gutter with tin snips. This will help reduce buckling and warping when you cut it with a saw.
For a square corner, you should make a 45-degree cut.
Secure the gutter in place using clamps, ensuring that it’s firmly held in place so it won’t move or shift during cutting.
For sections that require two pieces of gutter to achieve the correct slope. In such cases, it is important to overlap them by at least eight inches to ensure that water will flow properly.
Use a hacksaw or reciprocating saw with a metal blade to cut off the excess length from the gutter.
Step 5: Attach the Gutter End Caps
The end cap must be properly sealed and secured in order to provide optimal protection against leakage. Installing an end cap can also help to maintain the pressure balance within the system and avoid any potential damage due to overpressure or underpressure.
Measure and cut the end cap to size with a hacksaw.
Apply sealant along the edge of the gutter where it meets the wall and slide the end cap into place.
Make sure it is snug against the wall and use a hammer to affix it with galvanized nails at 2-inch intervals.
Finally, caulk around all edges of the end cap using silicone sealant for additional protection against leaks or water damage over time.
Step 6: Cut downspout holes
When cutting downspout holes, you should make sure that the hole is not too large as this may result in water spilling over the sides of the gutter and damaging your home's exterior. You should also use a saw or drill bit with a diameter that corresponds to the size of the downspout pipe you are using in order for it to fit securely.
Follow these steps:
Place the downspout outlet at the low end of the gutter. The outlet should be at least 2-3 feet away from the foundation of your home to ensure proper drainage.
Measure and mark the location of the downspout with a marker or pencil on the gutter.
Cut out the downspout drain holes on the low end using a hole saw.
Install the downspout directly to the gutter using screws and sealant.
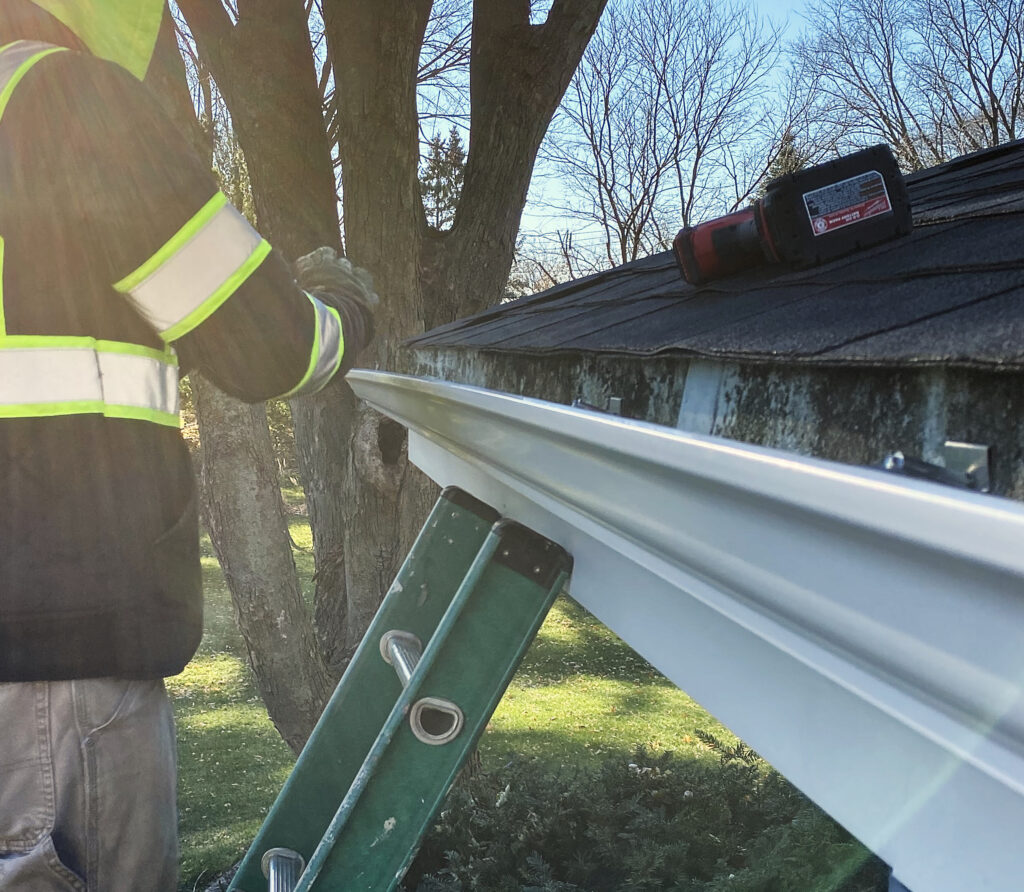
Step 7: Attach Gutters to Fascia
There are several steps involved in attaching gutters to fascia, ranging from measuring the area for gutter installation, selecting the correct size of gutters, and properly securing the gutters to the fascia.
Measure the area where the gutter will be attached and mark the spots using a pencil to ensure they will fit properly.
Secure the gutter hangers with galvanized or stainless steel screws into the fascia board.
Place each gutter section into the hangers and secure them with screws or pop rivets depending on your product.
Connect each of the gutters at each end together with a gutter coupling or joiner, making sure they are secure and watertight.
Make sure to do this once along every 2-foot or 0.61 m length along the gutter.
Check for any leaking spots and adjust accordingly.
Step 8: Attach Fascia Brackets to the Wall
Installing your fascia brackets to the wall is a simple process that can be done in a few easy steps.
Measure the area where you will be installing the fascia brackets and mark where the holes need to be drilled. Ensure that these points are level with each other before drilling.
Make sure to properly fasten your fascia brackets using steel lag screws that are at least two inches in length.
When screwing in Fascia brackets install them spaced every two feet.
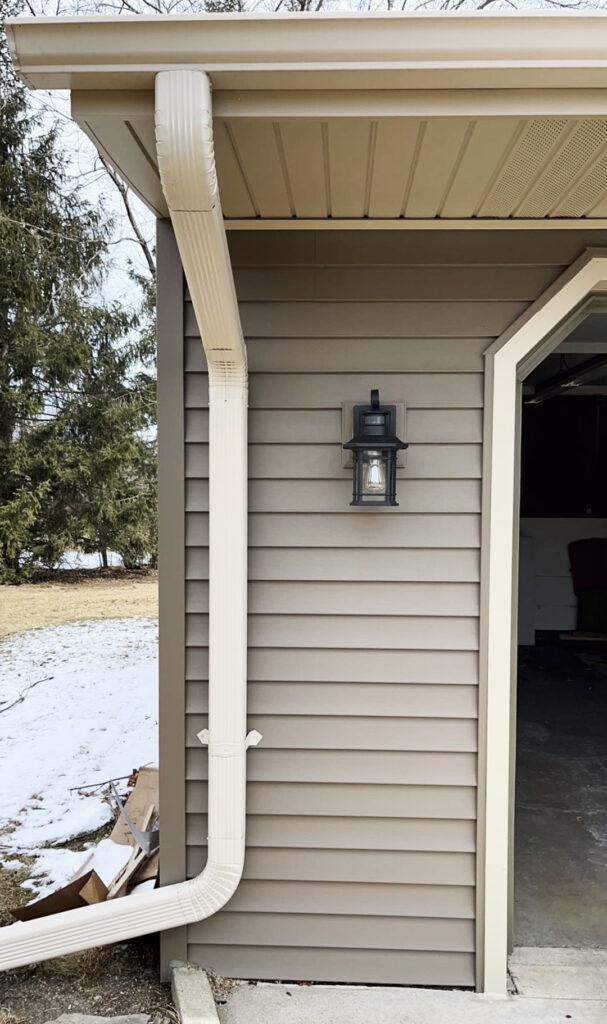
Step 9: Attach the Downspout
Downspouts are essential to complete any gutter installation. You want to make sure that it is securely attached and properly fitted to the gutter and wall in order to ensure that water is directed away from your home.
Screw the brackets into place at the top, center, and bottom of the corner board of your house. Make sure that each bracket is firmly secured in place and all screws are fully tightened.
Finish the job with a length of a downspout tube. Attach it to the bottom elbow and direct water away from the foundation of your home.