Shingled roofs are becoming the preferred option for roof cladding due to their aesthetic look and significant durability, among many other factors.
Installing shingles is relatively simple and can be done by any DIY enthusiast, provided that you follow the necessary steps and precautions.
It is important to know your work surface and the roof upon which your new tiles will be installed.
A roof comprises different parts that work together to protect the house frame and its contents. The features include the visible surface and the hidden framing network that supports the top cover.
This support structure is composed of wood and other materials installed on the house frame to support the roof covering.
This part plays the role of keeping the house and roof interior safe from exposure to the elements. The method applied when covering the roof may vary with different roof types.
Ice and water protection
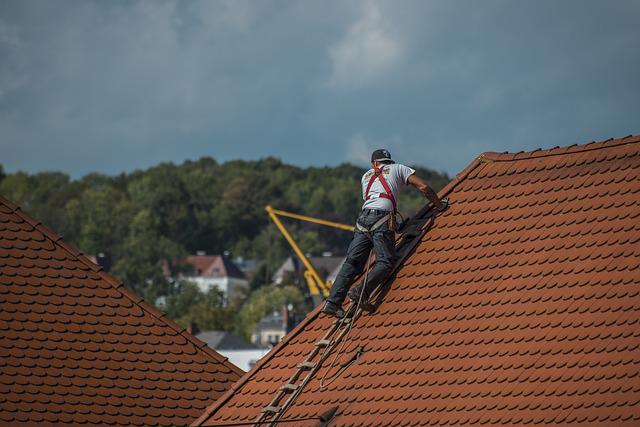
While working on your roof can be a DIY project, some situations call for professional aid, especially due to safety concerns. Some of them include
There are a few ways you could use to tell when to should hire a professional:
Always walk forwards, as walking backward along a slope may trigger your body to think you are falling, causing you to trip or fall.
Avoid placing too much weight at the center to prevent it from collapsing. When lifting loads onto the roof, you may use a bucket or install a pulley system to help.
Place the ladder with both ends in contact with the ground and the roof to prevent buckling.
In general, always ensure your safety as even the most minor things, like misplaced nails, maybe a danger to your safety. Work on a day with good weather conditions as the roof tends to be slippery when it rains.
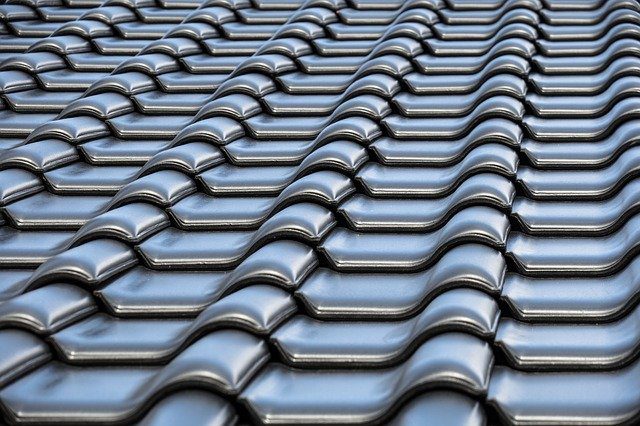
Having suitable materials is essential to roofing your house. Shingles come in different types, including metal, asphalt, and wood.
You can choose what suits you with a roofing professional’s advice and the local building guidelines to get the right material.
The most common shingles are asphalt which comes in two types. 3-tab shingles are light with a flat look and low wind resistance, while architectural shingles have a dimensional look while heavier with higher wind resistance.
You will also need flashing for open valleys and drip edges for the eaves and rakes.
Underlayment is installed on the roof deck for water protection, and ice and water underlayment can also be installed in areas prone to leakages.
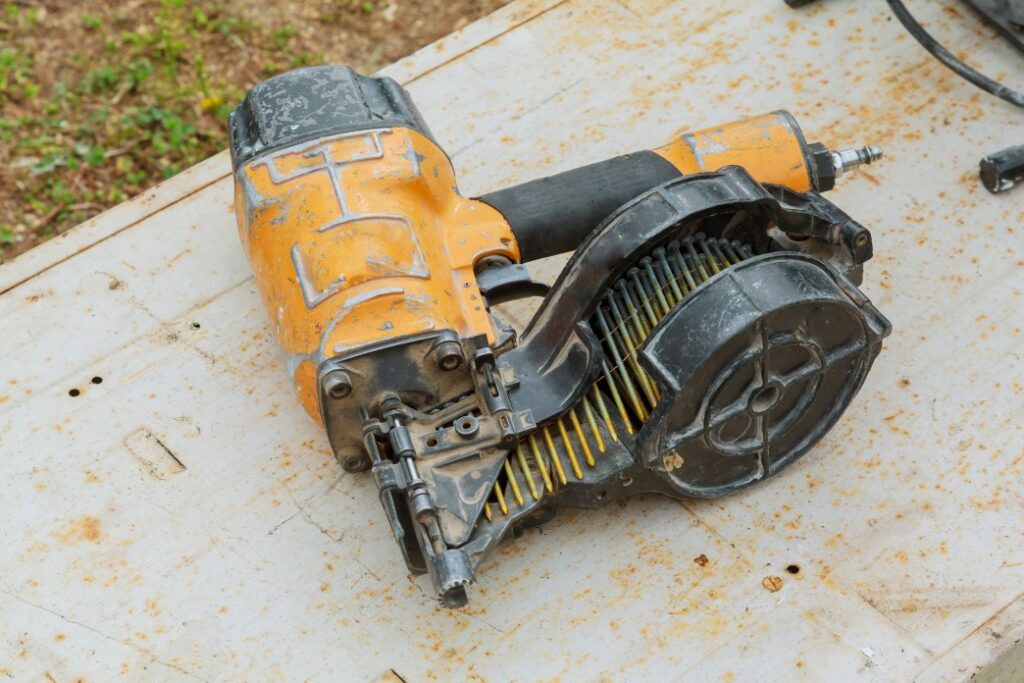
Using an air gun or a handheld hammer depends on your convenience.
Air guns offer fast and quick delivery of nails, increasing your work rate. Handheld hammers provide precision and a perfect finish as all the nails are driven in.
Air guns may be inefficient with changes in altitude. The compressor at the bottom of the roof may not deliver enough pressure up the roof to drive in the nails completely.
You may have to drive in some nails using a hammer manually.
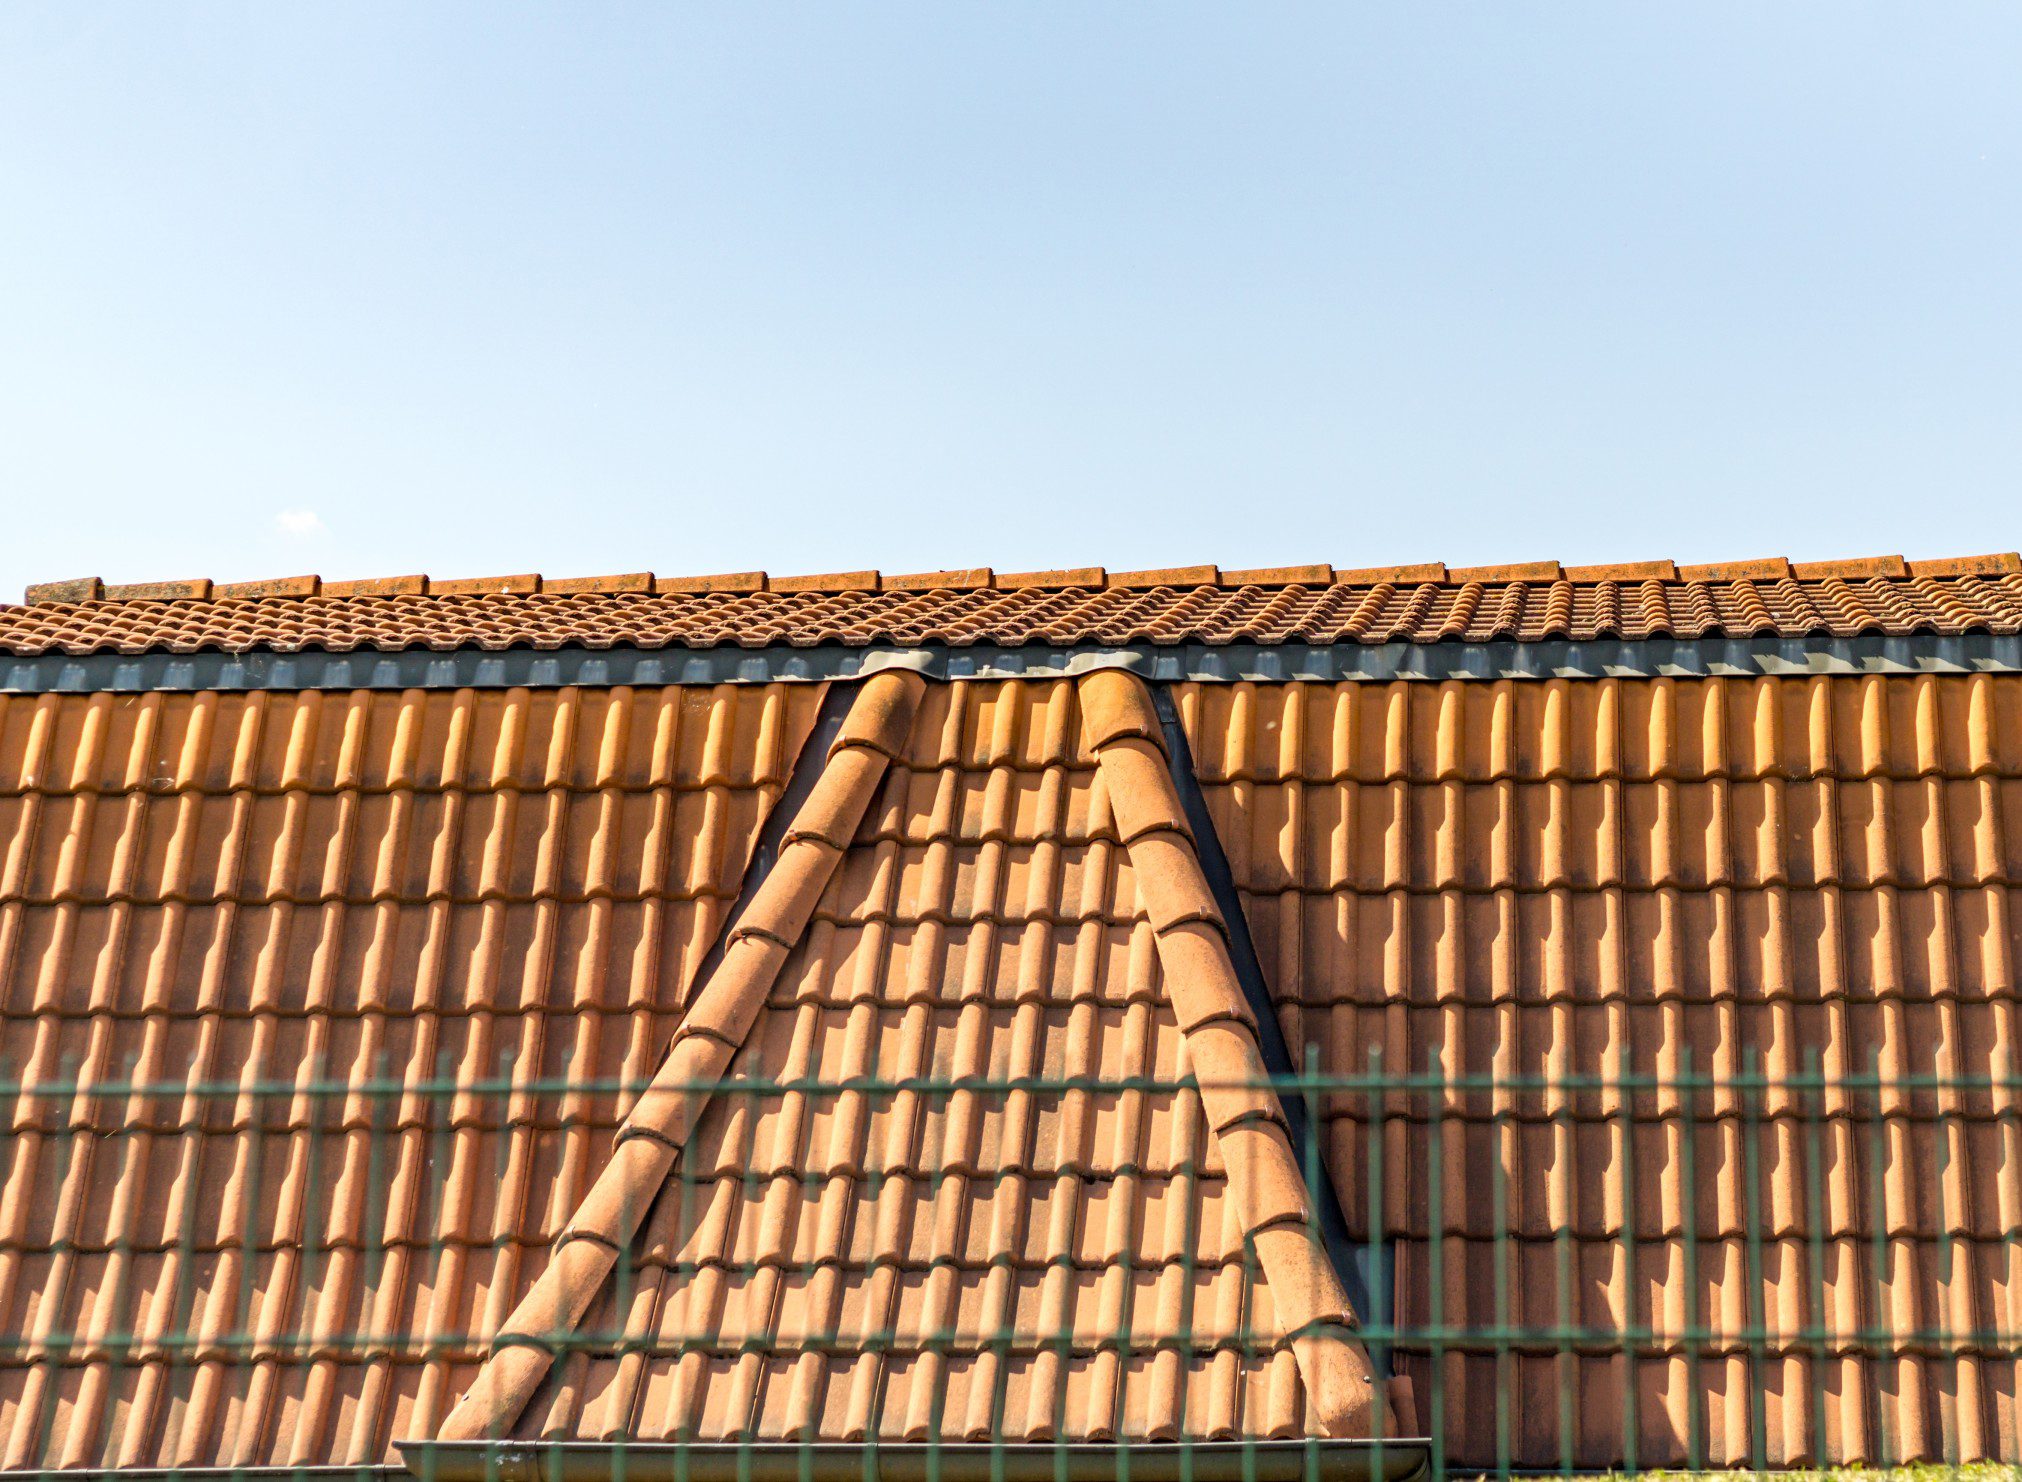
Pitched roofs have slopes on either side of the roof. Installing shingles on them is a manageable task, provided that you follow the correct steps.
This is also known as the roof’s sheathing and can be covered with material like plywood or horizontal planks of timber. It needs to be free of debris and dry for preparation to install the shingles.
Any protruding nails should be inserted correctly to ensure a flat and smooth surface.
This offers protection to eaves by preventing water from damaging the edge of the roof and letting water under the underlayment into the roof sheathing.
It is installed at the roof’s eaves with nails at 12’ intervals and an extra nail at areas with an irregular surface.
There are various types of underlayment, from felt to synthetic and ice and water protection. They play a role in holding the nails, keeping the shingles in place, and protecting the sheathing from any water that drips.
It’s installed from the bottom upwards to the top of the drip edge to the roof. The underlayment is then overlapped by around 4-inches and then stapled to the sheathing or roof deck.
You can install underlayment progressively along with the shingles in a windy place to prevent them from being blown off.
These are unique in their function and appearance as they protect the first row of shingles from the elements and create a base for them.
They can be bought separately or fashioned from the current or 3-tab shingles, giving double layer protection.
Measure the width of the starter shingles and hang them over the drip edge by ¼ inch past the drip edge.
Snap a line for the starter shingles using this measurement and draw a chalk line to guide their placement.
Nail five nails, one starter strip at the tar strip, leaving the rake end free where the drip edge goes. You may also need to even out the edges before installing it.
The first course of shingles is flashed or installed above the existing starter shingles. Nail them with two at each end and four at the center along the tar strip.
Offset the shingles so that the end seams don’t line up with each other to prevent a waterway from forming and running under the underlayment. Think of it as a brick wall arrangement with alternating placement.
Cut the shingles in successive halves to give three sizes, 6, 3, and 1 set of shingles cut at the center. The entire shingle will be in the first row, the half will follow in the second, and the trend continues to the last one in the fourth row.
The 4-row placement will automatically give the layered offset look that will protect your roof. Lay the rest of the full shingles, cutting them at the other end.
Nail both ends, then fill in with four nails along the tar strip. The layer above will stick to the one below at the tar strips in the sun’s heat.
Supply:
Tools:
There are specific ways the roof can be installed to ensure a long-lasting roof safe from water penetration that could lead to replacement roofs, and after all, you want the most out of your roof as it can be a costly job!
Metal flashing
Metal flashing is used to further protect your roof from water penetration by directing it down the roof.
When installing shingles around a vent or chimney flashing, cut the shingles after marking where they should go to fit them in.
The chalk line
The chalk line is vital to line up the shingles accurately. This is to prevent an uneven pattern and excess overhang that’s irregular with the progression of the roof. A ¼ inch error at the bottom will be much more at the top after finishing the shingles on one side.
Nailing
Using an air gun is faster, and you can fix any protruding nails manually. The nails at the ridge cap are longer to reach the deck through the other layers of material.
Some situations may require one to connect two roofs. Some of them include
A gable porch roof to a house
A gable porch roof has a pitch that divides the roof into two parts, each sloping in the other direction. Connecting it to the main roof requires a connection through the ridge board of the porch roof.
This is possible by attaching it to the main roof using a valley board. This is a setup running from the point where the ridge of the porch roof meets the main roof to the corners of the porch roof.
The valley board runs along the slope of the roof to be attached at the width ends of the gable porch roof. They are angled so that they meet the corners of the porch roof.